Showing posts with label DIY. Show all posts

Playroom Steps

0
com
Hello, I finally got around to painting the playroom steps!  Take a look :)
After

Before

Handmade Diaper Pad

0
com
I originally started this project last year, and after breakfast Sunday morning I thought about finishing it.  I have seen cute diaper pads on Etsy and wanted to see if I could make my own from left over fabric.

Since I didn't have a full piece of fabric, I pieced together two different patterns together to make a the diaper pad shape.
I didn't use any mesurements on this, everything was done free handed.  For the other side I used some soft furry fabric.  I laid the patterned fabric on top and cut around it.
After the furry fabric is cut, I tucked and pinned to stich.


Finally to keep the two fabrics from moving away from each other, I stiched a harliquin pattern.
Furry Side
Pattern Side

Modern Pumpkin Redo

0
com
Here my pumpkins before.

I used some left over white paint.

And walla, instant modern pumpkins.

Picture Frames

0
com
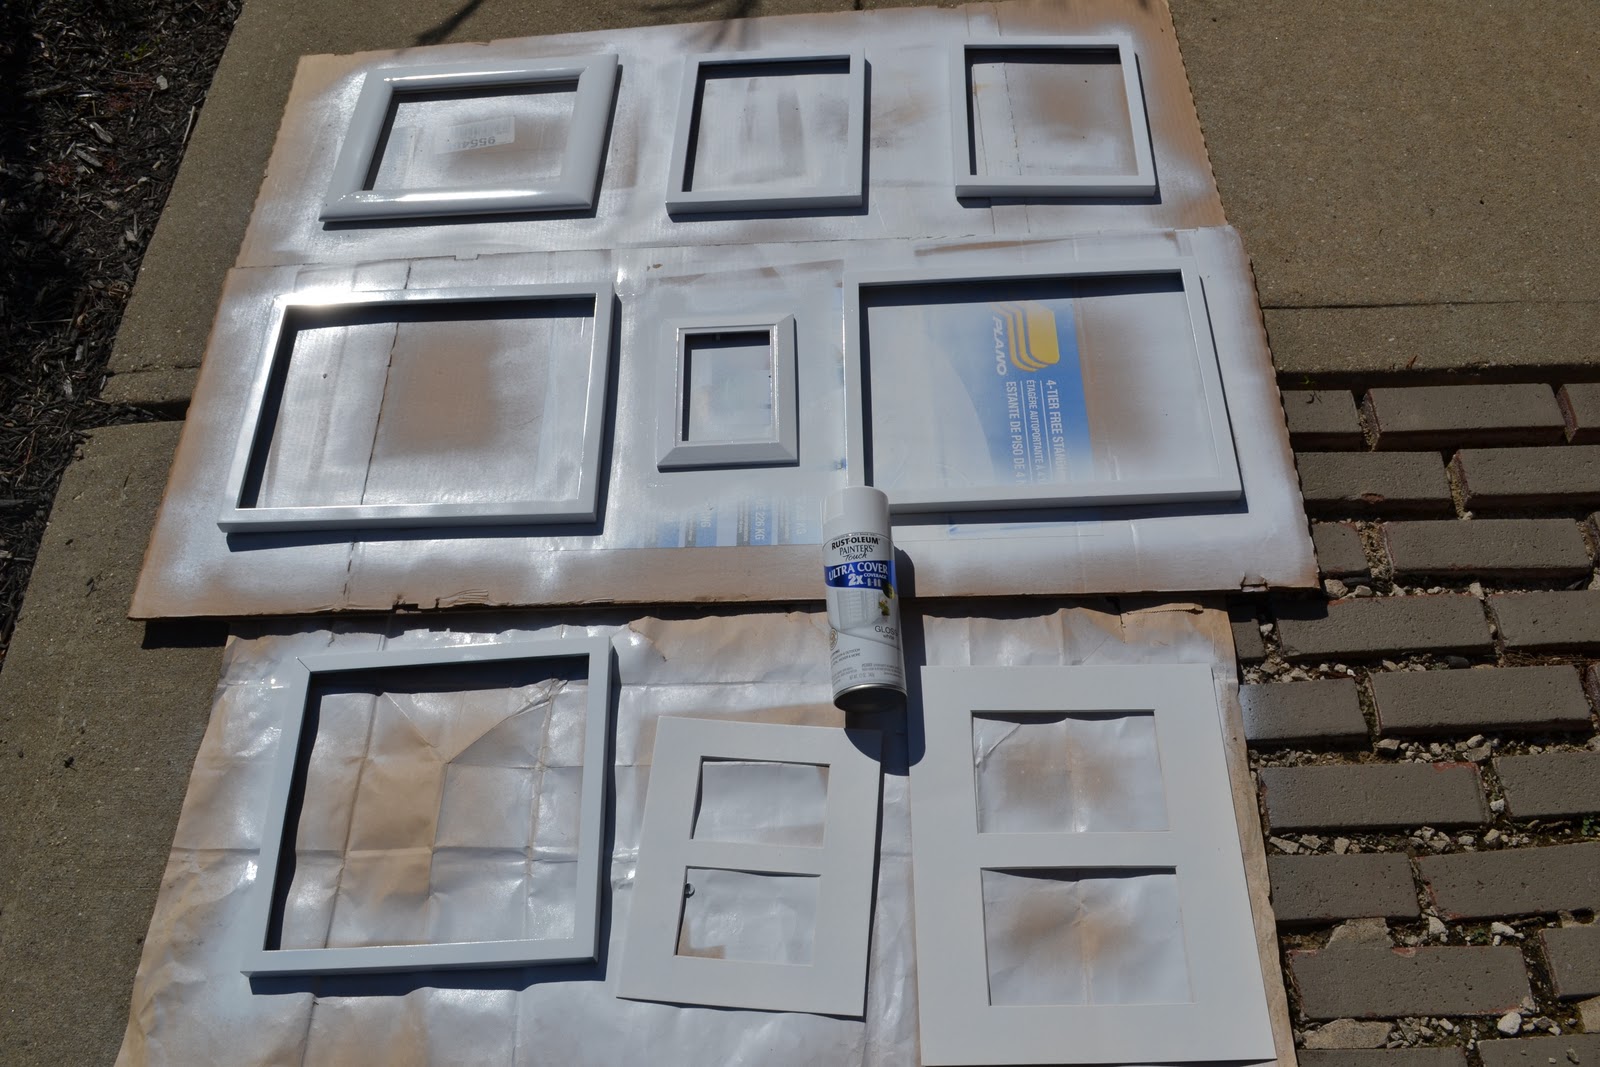
I forgot to take a before photo to show that these frames were all black. 
I traced the frames onto newspaper ads and arranged them on the wall to see where to hang each one. 
 And my assistant
 I would tap the nail into the paper.
 Then tear the paper down and walla.
 I used all black and white photos to give the picture wall uniformity and artistic effect. 

Refinished Wicker Chairs

0
com
I started with a pair of old falling apart wicker chairs and coffee table.  The legs were in pretty bad shape so I ordered some basket reed and rewrapped the legs.


Here is the a photo showing the new reed on the legs.  You can see that the over chair still needs work. 
 My sidekick here is the best kind of helper to have with a task like this.

 Now we primer, see hubby helping :)
 And finally paint.


After

Before

Basement Playroom Update and Wire Curtain Rod DIY

0
com
The Curtain Wall for the playroom are up and it makes the basement look cozy.  Here is what I used to make the Wire Curtain Rod.  I got all the parts from Home Depot and Lowes.  I already owned the drill

I pre-drilled a small hole for these.
Looped the wire and clamped one end. 
Looped the other end with this neato hook that you can twist to make the wire really tight. 
Here is my supplies for the curtains.  Since I am trying to keep this basement/playroom project down, I used 10 sheets from my favorite Swedish home improvement store $3.99 each, and 4 packs of clips from Sears $2.99 each. 

Little helper pulled finally pulled the tape up from when I painted the concrete floor here.
  Just to recap here is the before see here.

Halloween

0
com
Here is our porch decor.  Hanging Bats, oooh spooky.  I made these from foam paper, this is my first craft project since grade school.  I traced the patten and made sure to cut on the lines :)  I got this from Martha Stewart Living Magazine.

And here is the little man.  What does a lion say?


Painted Concrete Floor

0
com
Here we go, I painted my basement floor with Valspar Porch and Floor paint, 2 gallons each $25.98.  This is my first experience with this type of DIY, but I think it was a success.  I love the color and the way the floor turned out.
Here is the before, I taped an outline of the area I painted, that way I would have a clean line.
I choose a light green color.
I really like this concrete paint, it totally changed the way the floor looks.  I also love that the finish is satin, so not as slick as a gloss finish.  My little one likes it too :)

Basement Playroom Update

0
com
We have this unfinished basement that looks like this.  Half basement has framed and drywalled by the previous owners.  

Since our son is turning 2 years old soon and winter is approaching we thought how nice it would be to change this space to a large playroom.

The first thing to tackle would be to paint the large metal support beams.  Since they were rusty, we had to primer them first with Rustoleum.  The cost for this was approx. $9.


This is such a great product, lightly sand and paint.  You can see some drywall sitting in the lower right corner of this photo above...  We bought 5 sheets of drywall at approx. $4 each.  And used a drywall knife and screws we already had, free!


Here is the paint color for the metal beams.  We used Lowes paint approx $9.98 for a quart.
Wow, what a difference color makes :) See the wicker chairs I am going to update these as well, but that is for another post.
I love seeing the exposed wood rafters against the red and metal air ducts make it seem industrial and gives it a lofty feel.
Pretty cool.  Oh and here is where I got my inspiration for the red metal beams.

So far our basement update is at $39.00.